Randomly Position Change Button on Hover
with HTML CSS and JavaScript
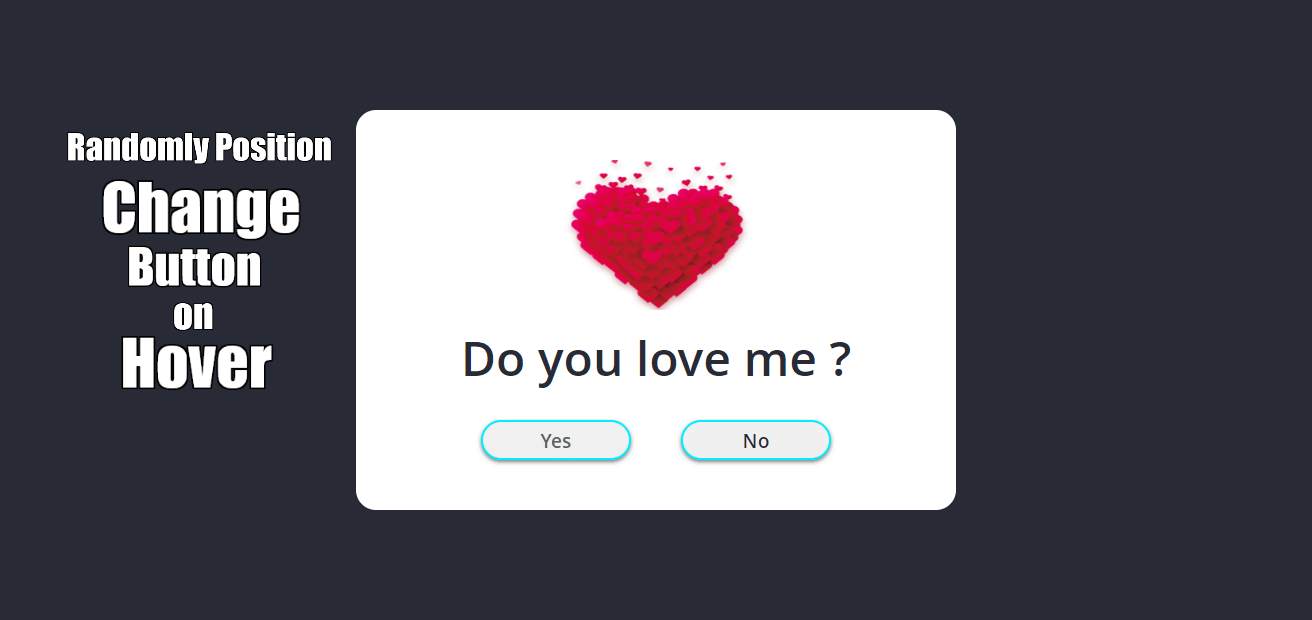
At the point when you float your mouse over the button, it sets off a change through extravagant CSS livelinesss or changes, making the button haphazardly move to another area on the website page.
Utilized the ":float" pseudo-class in CSS to characterize what happens when the button is drifted over. Change the properties you've set to make the arbitrary impact. For a really irregular development, you can utilize JavaScript or irregular CSS properties.
Video Tutorial of Randomly Position Change Button on Hover
Randomly Position Change Button on Hover [Source Codes]
To Create Randomly Position Change Button on Hoverwith HTML,CSS and JavaScript, follow the given steps line by line:
Create a folder. You can name this folder whatever you want, and inside this folder, create the mentioned files.
Create an index.html file. The file name must be index and its extension .html
Create a style.css file. The file name must be style and its extension .css
Create a script.js file. The file name must be style and its extension .js
Once you create these files, paste the given codes into the specified files. If you don’t want to do these then scroll down and download the source code by clicking download button.
First, paste the following codes into your index.html file
- <!DOCTYPE html>
- <html lang="en">
- <head>
- <meta charset="UTF-8">
- <title>Unclickable Button </title>
- <link rel="stylesheet" href="style.css">
- </head>
- <body>
- <div class="wrapper">
- <img src="1.png" alt="">
- <h2 class="question">Do you love me ?</h2>
- <div class="btn-group">
- <button class="yes-btn">Yes</button>
- <button class="no-btn">No</button>
- </div>
- </div>
- <script src="script.js"></script>
- </body>
- </html>
Now paste the following codes into your style.css file
- * {
- margin: 0;
- padding: 0;
- box-sizing: border-box;
- font-family: "Open Sans", sans-serif;
- }
-
- *::selection {
- background: #0ef;
- color: #fff;
- }
-
- body {
- display: flex;
- justify-content: center;
- align-items: center;
- min-height: 100vh;
- background: #282A35;
- }
-
- .wrapper {
- position: relative;
- width: 600px;
- height: 400px;
- background: #FFFFFF;
- border-radius: 20px;
- display: flex;
- justify-content: center;
- align-items: center;
- flex-direction: column;
- }
-
- img {
- width: 190px;
- height: 150px;
- }
-
- h2 {
- font-size: 3em;
- color: #282A35;
- margin: 15px 0;
- }
-
- .btn-group {
- width: 100%;
- height: 40px;
- display: flex;
- justify-content: center;
- margin-top: 15px;
- }
-
- button {
- position: absolute;
- width: 150px;
- height: inherit;
- font-size: 1.2em;
- color: #606060;
- font-weight: 600;
- border-radius: 30px;
- border: 2px solid #0ef;
- outline: none;
- cursor: pointer;
- box-shadow: 0 2px 4px rgba(0, 0, 0, .5);
- }
- button:hover {
- transition-delay: 0s, 1s;
- color: #606060;
- box-shadow:
- 0 0 10px #0ef,
- 0 0 20px #0ef,
- 0 0 40px #0ef,
- 0 0 80px #0ef,
- 0 0 160px #0ef;
- }
- button:nth-child(1) {
- margin-left: -200px;
- background: #f1f1f1;
- }
-
- button:nth-child(2) {
- margin-right: -200px;
- color: #282A35;
- }
Now paste the following codes into your script.js file
- const wrapper = document.querySelector('.wrapper');
- const question = document.querySelector('.question');
- const yesBtn = document.querySelector('.yes-btn');
- const noBtn = document.querySelector('.no-btn');
-
- const wrapperRect = wrapper.getBoundingClientRect();
- const noBtnRect = noBtn.getBoundingClientRect();
-
- yesBtn.addEventListener('click', () => {
- question.innerHTML = 'I Love You Too!';
- });
-
- noBtn.addEventListener('mouseover', () => {
- const i = Math.floor(Math.random() * (wrapperRect.width - noBtnRect.width)) + 1;
- const j = Math.floor(Math.random() * (wrapperRect.height - noBtnRect.height)) + 1;
-
- noBtn.style.left = i + 'px';
- noBtn.style.top = j + 'px';
- });
If you face any difficulties while creating Randomly Position Change Button on Hover or your code is not working as expected, you can download the source code files by clicking download button.
Related post
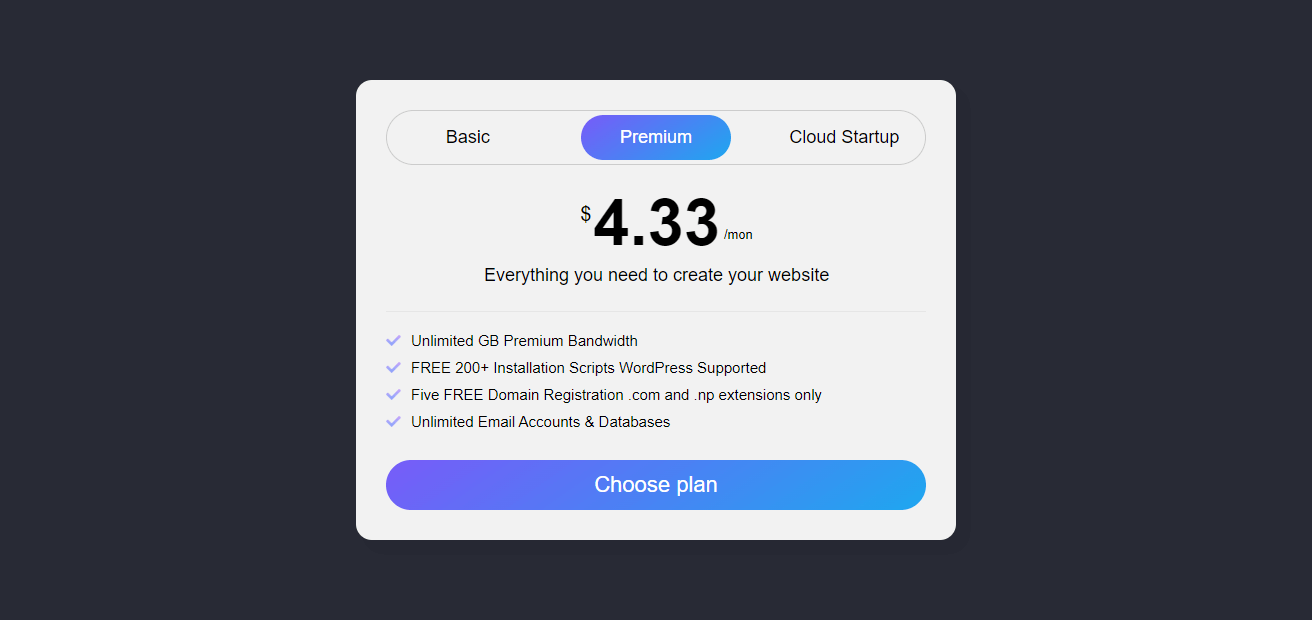 Pricing Card With Sliding Animation
onlinefindout
 Login & Signup Form
onlinefindout
 QR Code Scanner with HTML,CSS and JavaScript