How to Create Tags Input Box with HTML
CSS and JavaScript
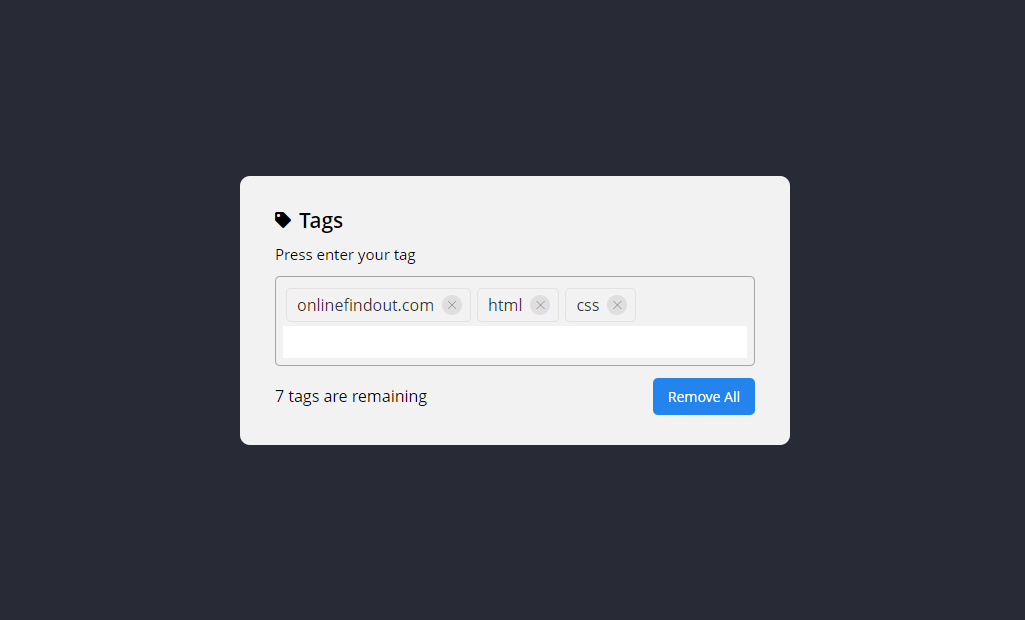
A labels input is a UI (UI) part that permits the client to add or embed numerous sections as labels into an info field. In this undertaking (Labels Contribution to JavaScript), as you can see on the site page, there is an information box for certain labels, button, and labels counter.
You can eliminate each tag by tapping on a nearby symbol or eliminate all labels without a moment's delay by tapping on the Eliminate All button. You can embed a limit of 10 labels in particular and copy labels will not be included the info field.
Video Tutorial of Tags Input Box
Tags Input Box [Source Codes]
To Create Tags Input Box with HTML,CSS and JavaScript, follow the given steps line by line:
Create a folder. You can name this folder whatever you want, and inside this folder, create the mentioned files.
Create an index.html file. The file name must be index and its extension .html
Create a style.css file. The file name must be style and its extension .css
Create a script.js file. The file name must be style and its extension .js
Once you create these files, paste the given codes into the specified files. If you don’t want to do these then scroll down and download the source code by clicking download button.
First, paste the following codes into your index.html file
- <!DOCTYPE html>
- <html lang="en">
- <head>
- <meta charset="utf-8">
- <title>Add Tags</title>
- <link rel="stylesheet" href="style.css">
- <link rel="stylesheet" href="https://unicons.iconscout.com/release/v4.0.0/css/thinline.css">
- <link rel="stylesheet" href="https://cdnjs.cloudflare.com/ajax/libs/font-awesome/5.15.4/css/all.min.css">
- </head>
- <body>
- <div class="wrapper">
- <div class="title">
- <i class="fas fa-tag"></i>
- <h2>Tags</h2>
- </div>
- <div class="content">
- <p>Press enter your tag</p>
- <ul><input type="text" spellcheck="false"></ul>
- </div>
- <div class="details">
- <p><span>10</span> tags are remaining</p>
- <button>Remove All</button>
- </div>
- </div>
- <script src="script.js"></script>
- </body>
- </html>
-
Now paste the following codes into your style.css file
- *{
- margin: 0;
- padding: 0;
- box-sizing: border-box;
- font-family: "Open Sans", sans-serif;
- }
- body{
- display: flex;
- align-items: center;
- justify-content: center;
- min-height: 100vh;
- background: #282A35;
- }
- ::selection{
- color: #fff;
- background: #282A35;
- }
- .wrapper{
- width: 550px;
- background: #f2f2f2;
- border-radius: 10px;
- padding: 30px 35px 30px;
- }
- .wrapper :where(.title, li, li i, .details){
- display: flex;
- align-items: center;
- }
- .title h2{
- font-size: 21px;
- font-weight: 600;
- margin-left: 8px;
- }
- .wrapper .content{
- margin: 10px 0;
- }
- .content p{
- font-size: 15px;
- }
- .content ul{
- display: flex;
- flex-wrap: wrap;
- padding: 7px;
- margin: 12px 0;
- border-radius: 5px;
- border: 1px solid #a6a6a6;
- }
- .content ul li{
- color: #333;
- margin: 4px 3px;
- list-style: none;
- border-radius: 5px;
- background: #F2F2F2;
- padding: 5px 8px 5px 10px;
- border: 1px solid #e3e1e1;
- }
- .content ul li i{
- height: 20px;
- width: 20px;
- color: #808080;
- margin-left: 8px;
- font-size: 12px;
- cursor: pointer;
- border-radius: 50%;
- background: #dfdfdf;
- justify-content: center;
- }
- .content ul input{
- flex: 1;
- padding: 5px;
- border: none;
- outline: none;
- font-size: 16px;
- }
- .wrapper .details{
- justify-content: space-between;
- }
- .details button{
- border: none;
- outline: none;
- color: #fff;
- font-size: 14px;
- cursor: pointer;
- padding: 9px 15px;
- border-radius: 5px;
- background: #2384ED;
- transition: background 0.3s ease;
- }
- .details button:hover{
- background: #2c52ed;
- }
Now paste the following codes into your script.js file
- const ul = document.querySelector("ul"),
- input = document.querySelector("input"),
- tagNumb = document.querySelector(".details span");
-
- let maxTags = 10,
- tags = ["onlinefindout.com"];
-
- countTags();
- createTag();
-
- function countTags(){
- input.focus();
- tagNumb.innerText = maxTags - tags.length;
- }
-
- function createTag(){
- ul.querySelectorAll("li").forEach(li => li.remove());
- tags.slice().reverse().forEach(tag =>{
- let liTag = `<li>${tag} <i class="uit uit-multiply" onclick="remove(this, '${tag}')"></i></li>`;
- ul.insertAdjacentHTML("afterbegin", liTag);
- });
- countTags();
- }
-
- function remove(element, tag){
- let index = tags.indexOf(tag);
- tags = [...tags.slice(0, index), ...tags.slice(index + 1)];
- element.parentElement.remove();
- countTags();
- }
-
- function addTag(e){
- if(e.key == "Enter"){
- let tag = e.target.value.replace(/\s+/g, ' ');
- if(tag.length > 1 && !tags.includes(tag)){
- if(tags.length < 10){
- tag.split(',').forEach(tag => {
- tags.push(tag);
- createTag();
- });
- }
- }
- e.target.value = "";
- }
- }
-
- input.addEventListener("keyup", addTag);
-
- const removeBtn = document.querySelector(".details button");
- removeBtn.addEventListener("click", () =>{
- tags.length = 0;
- ul.querySelectorAll("li").forEach(li => li.remove());
- countTags();
- });
-
If you face any difficulties while creating Tags Input Box or your code is not working as expected, you can download the source code files by clicking download button.
Related post
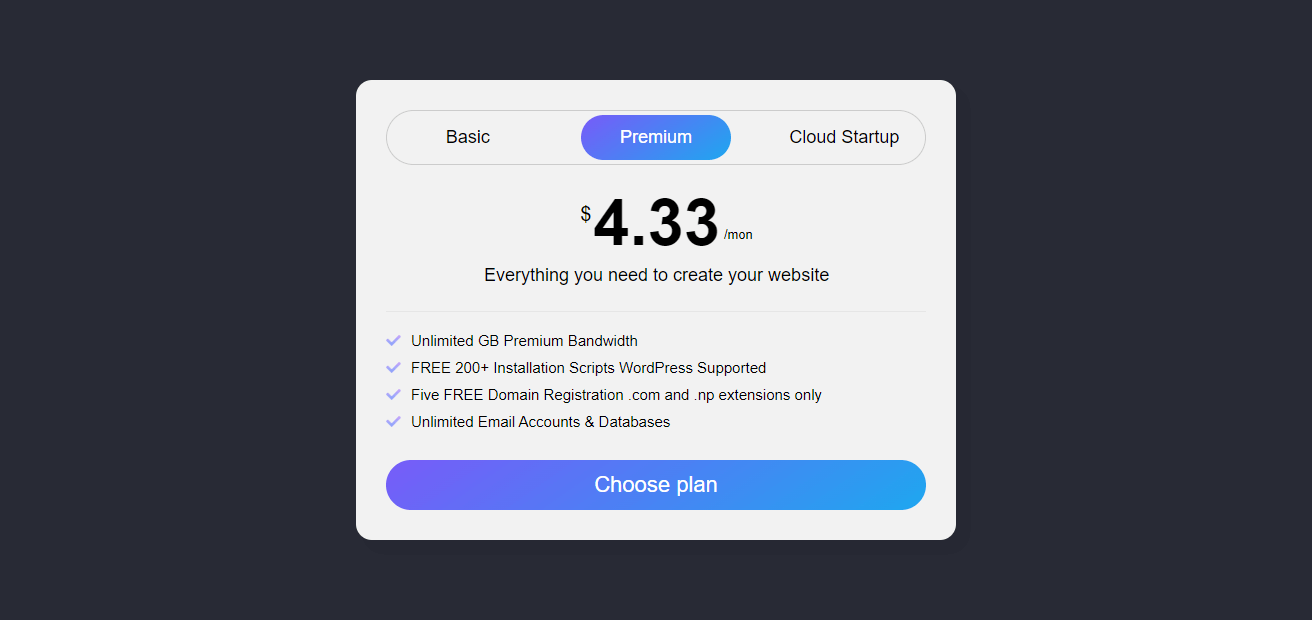 Pricing Card With Sliding Animation
onlinefindout
 Login & Signup Form
onlinefindout
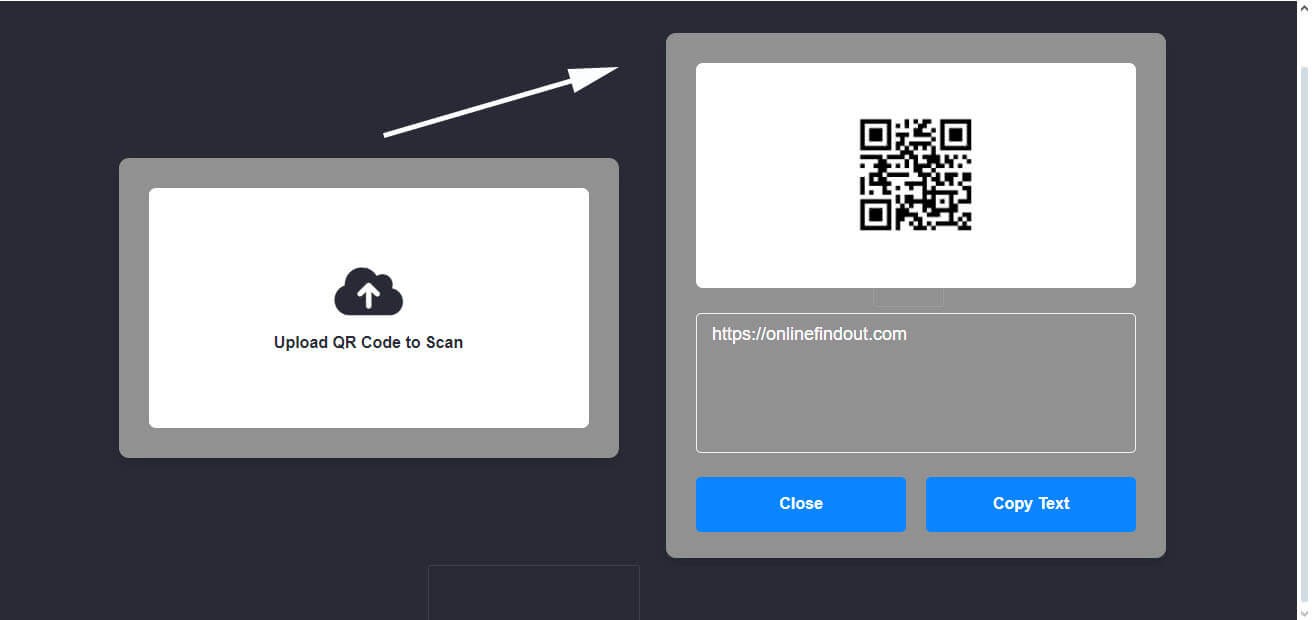 QR Code Scanner with HTML,CSS and JavaScript