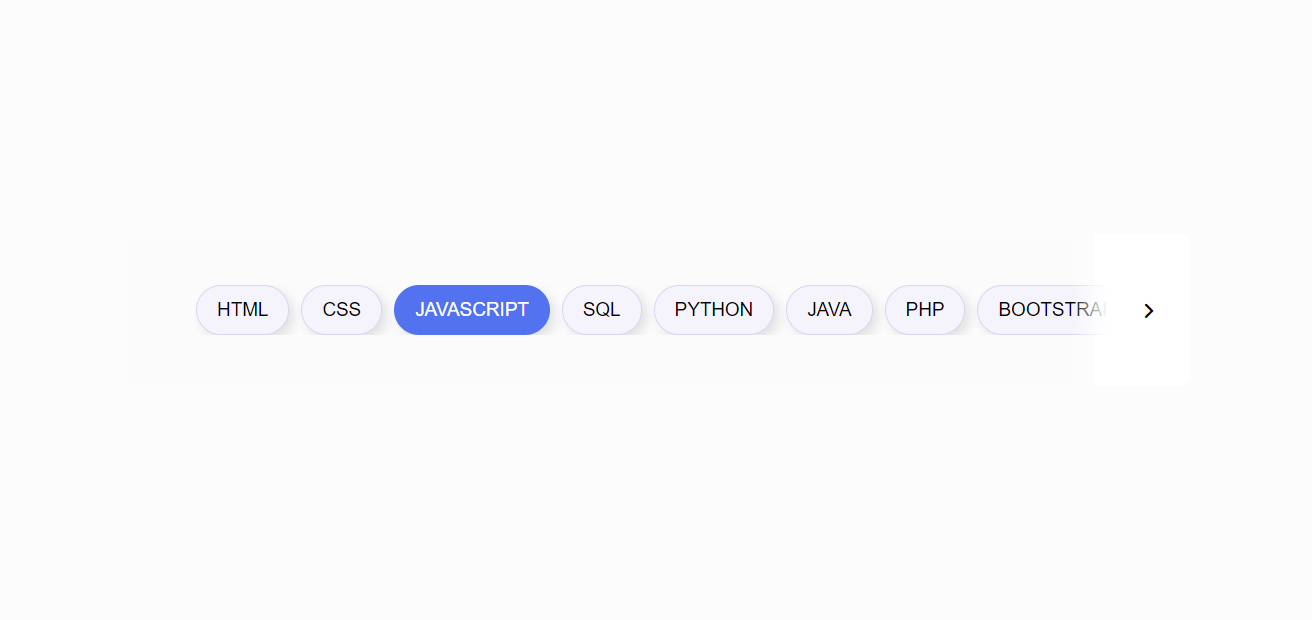
How to make draggable slider tabs
with HTML,CSS and JavaScript
You would have seen the draggable slider tabs on YouTube that channel recordings as per the client's advantage. Assuming that you're interested about how to make it with vanilla JavaScript, you can keep perusing this blog.However, prior to proceeding with this blog, on the off chance that you haven't seen my past blog on Make A Draggable Picture Slider in JavaScript. Try not to miss to see it to make a touch-accommodating draggable picture merry go round slider.
In this blog, you'll figure out how to make Draggable Slider Tabs Like YouTube in HTML CSS and JavaScript. This slider can be a helpful UI part for recordings, pictures, and blog destinations that necessities to channel the substance in view of the clients' advantages.In this slider, clients can slide the tabs by hauling or utilizing past and next symbols.
Draggable Slider Tabs in JavaScript Video Tutorial
Draggable Slider Tabs in JavaScript [Source Codes]
To make Draggable Slider Tabs with HTML,CSS and JavaScript, follow the given steps line by line:
Create a folder. You can name this folder whatever you want, and inside this folder, create the mentioned files.
Create an index.html file. The file name must be index and its extension .html
Create a style.css file. The file name must be style and its extension .css
Create a script.js file. The file name must be style and its extension .js
Once you create these files, paste the given codes into the specified files. If you don’t want to do these then scroll down and download the source code
First, paste the following codes into your index.html file
- <!DOCTYPE html>
- <html lang="en" dir="ltr">
- <head>
- <meta charset="utf-8">
- <title>Draggable Slider Tabs</title>
- <link rel="stylesheet" href="style.css">
- <meta name="viewport" content="width=device-width, initial-scale=1.0">
- <link rel="stylesheet" href="https://cdnjs.cloudflare.com/ajax/libs/font-awesome/6.2.0/css/all.min.css">
- </head>
- <body>
- <div class="wrapper">
- <div class="icon"><i id="left" class="fa-solid fa-angle-left"></i></div>
- <ul class="tabs-box">
- <li class="tab">HTML</li>
- <li class="tab active">CSS</li>
- <li class="tab">JAVASCRIPT</li>
- <li class="tab">SQL</li>
- <li class="tab">PYTHON</li>
- <li class="tab">JAVA</li>
- <li class="tab">PHP</li>
- <li class="tab">BOOTSTRAP </li>
- <li class="tab">REACT</li>
- <li class="tab">MYSQL</li>
- <li class="tab">JQUERY</li>
- <li class="tab">POSTGRESQL</li>
- <li class="tab">ANGULAR</li>
- <li class="tab">XML</li>
- <li class="tab">NODEJS</li>
- <li class="tab"> MONGODB</li>
- <li class="tab">DJANGO</li>
- <li class="tab">PANDAS</li>
- <li class="tab">GIT </li>
- <li class="tab">SASS</li>
- </ul>
- <div class="icon"><i id="right" class="fa-solid fa-angle-right"></i></div>
- </div>
- <script src="script.js"></script>
- </body>
- </html>
Now paste the following codes into your style.css file
- body {
- margin: 0;
- padding: 0;
- display: flex;
- padding: 0 10px;
- align-items: center;
- justify-content: center;
- min-height: 100vh;
- font-family: Arial, sans-serif;
- background-color: #fcfcfc;
- }
- .wrapper {
- padding: 35px;
- position: relative;
- overflow-x: hidden;
- max-width: 1000px;
- background: #fbfbfb;
- border-radius: 13px;
- }
- .wrapper .icon {
- position: absolute;
- top: 0;
- height: 100%;
- width: 120px;
- display: flex;
- align-items: center;
- }
- .icon:first-child {
- left: 0;
- display: none;
- background: linear-gradient(90deg, #fff 70%, transparent);
- }
- .icon:last-child {
- right: 0;
- justify-content: flex-end;
- background: linear-gradient(-90deg, #fff 70%, transparent);
- }
- .icon i {
- width: 55px;
- height: 55px;
- cursor: pointer;
- font-size: 1.2rem;
- text-align: center;
- line-height: 55px;
- border-radius: 50%;
- }
- .icon i:hover {
- background: #efedfb;
- }
- .icon:first-child i {
- margin-left: 15px;
- }
- .icon:last-child i {
- margin-right: 15px;
- }
- .wrapper .tabs-box {
- display: flex;
- gap: 12px;
- list-style: none;
- overflow-x: hidden;
- scroll-behavior: smooth;
- }
- .tabs-box.dragging {
- scroll-behavior: auto;
- cursor: grab;
- }
- .tabs-box .tab {
- cursor: pointer;
- font-size: 1.18rem;
- white-space: nowrap;
- background: #f5f4fd;
- padding: 13px 20px;
- border-radius: 30px;
- border: 1px solid #d8d5f2;
- box-shadow: 5px 5px 10px rgba(0, 0, 0, 0.1);
- }
- .tabs-box .tab:hover{
- background: #efedfb;
- }
- .tabs-box.dragging .tab {
- user-select: none;
- pointer-events: none;
- }
- .tabs-box .tab.active{
- color: #fff;
- background: #5372F0;
- border-color: transparent;
- }
Now paste the following codes into your script.js file
- const tabsBox = document.querySelector(".tabs-box"),
- allTabs = tabsBox.querySelectorAll(".tab"),
- arrowIcons = document.querySelectorAll(".icon i");
-
- let isDragging = false;
-
- const handleIcons = (scrollVal) => {
- let maxScrollableWidth = tabsBox.scrollWidth - tabsBox.clientWidth;
- arrowIcons[0].parentElement.style.display = scrollVal <= 0 ? "none" : "flex";
- arrowIcons[1].parentElement.style.display = maxScrollableWidth - scrollVal <= 1 ? "none" : "flex";
- }
-
- arrowIcons.forEach(icon => {
- icon.addEventListener("click", () => {
-
- let scrollWidth = tabsBox.scrollLeft += icon.id === "left" ? -340 : 340;
- handleIcons(scrollWidth);
- });
- });
-
- allTabs.forEach(tab => {
- tab.addEventListener("click", () => {
- tabsBox.querySelector(".active").classList.remove("active");
- tab.classList.add("active");
- });
- });
-
- const dragging = (e) => {
- if(!isDragging) return;
- tabsBox.classList.add("dragging");
- tabsBox.scrollLeft -= e.movementX;
- handleIcons(tabsBox.scrollLeft)
- }
-
- const dragStop = () => {
- isDragging = false;
- tabsBox.classList.remove("dragging");
- }
-
- tabsBox.addEventListener("mousedown", () => isDragging = true);
- tabsBox.addEventListener("mousemove", dragging);
- document.addEventListener("mouseup", dragStop);
If you face any difficulties while creating your Draggable Slider Tabs or your code is not working as expected, you can download the source code files for this Draggable Slider Tabs in free by clicking on the download button.
Related post
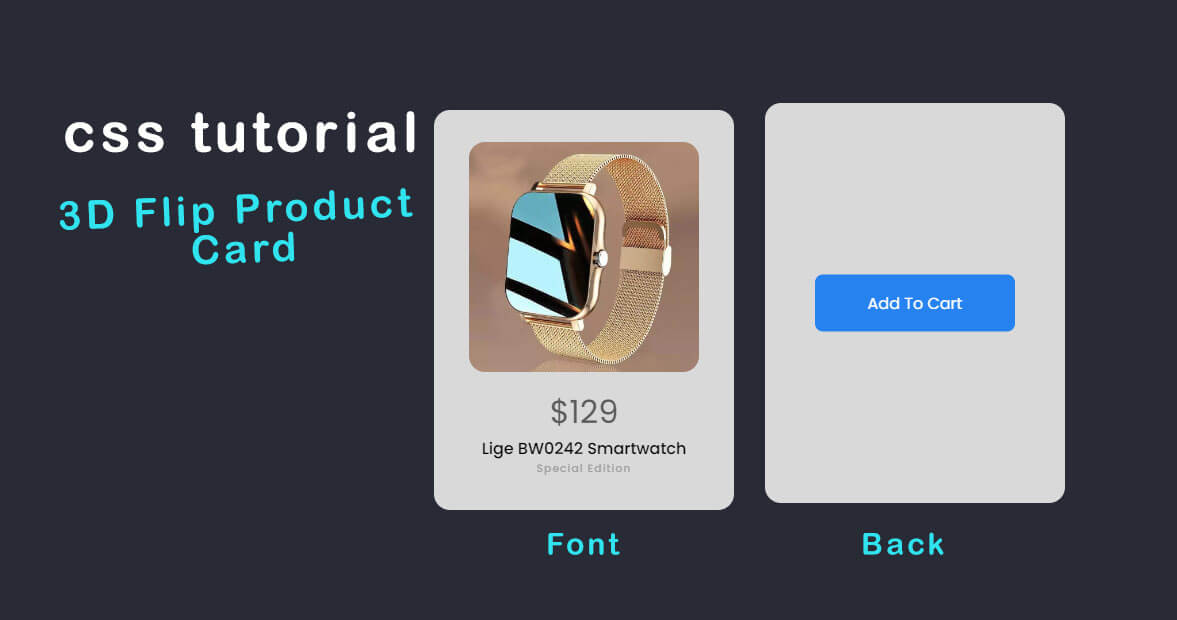 Create 3D Flipping Product
Card With HTML & CSS
Create 3D Flipping Product
Card With HTML & CSS
onlinefindout
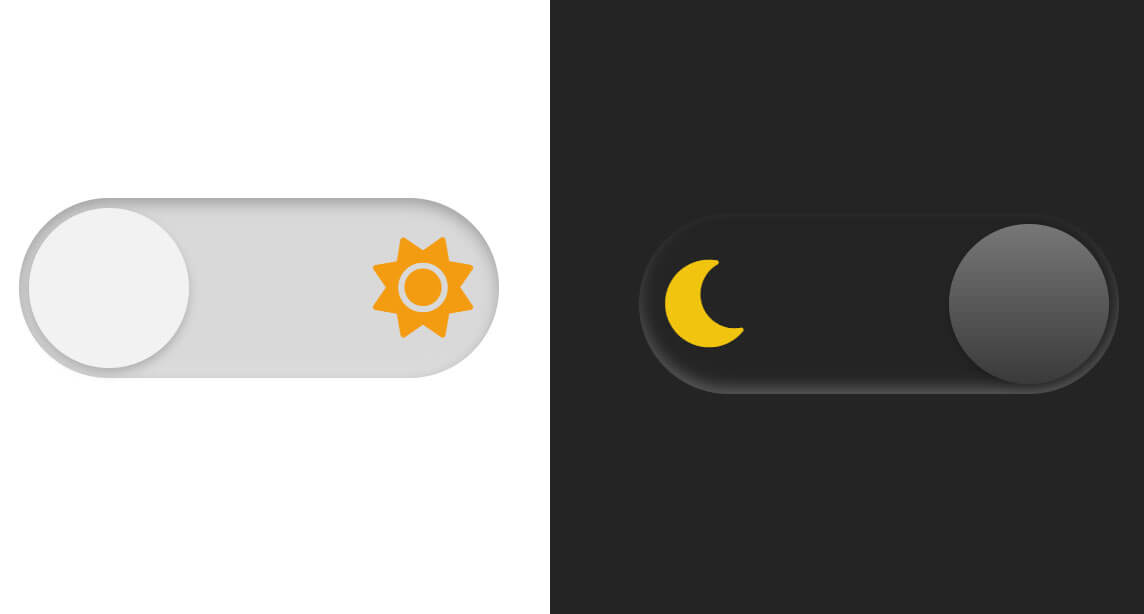 Create Toggle Dark & Light Mode
onlinefindout
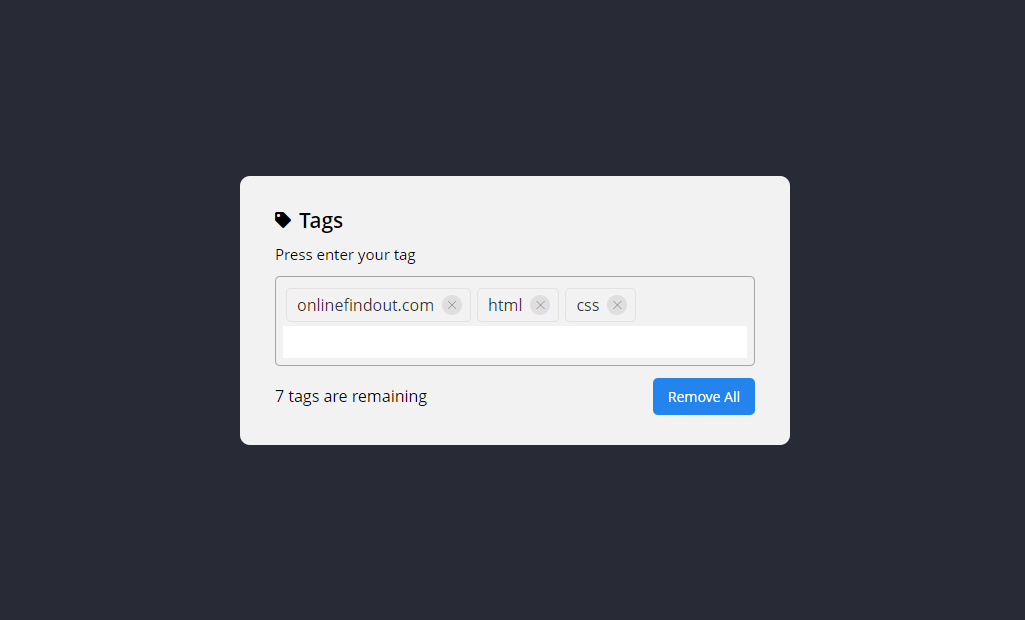 Create Tags Input Box