How to Create a Image Editor with HTML
CSS and JavaScript

To fabricate a Picture Supervisor utilizing HTML CSS and JavaScript, you really want to make three records: HTML, CSS and JavaScript document. When you make these documents, simply glue the given codes into your record. On the off chance that you don't have the foggiest idea how to make these records, where to glue the codes, or don't have any desire to do these, you can just download the source code records of this Picture Manager by tapping on the given download button that is at the lower part of this page.
Video Tutorial of Image Editor
Image Editor [Source Codes]
To Create Image Editor with HTML,CSS and JavaScript, follow the given steps line by line:
Create a folder. You can name this folder whatever you want, and inside this folder, create the mentioned files.
Create an index.html file. The file name must be index and its extension .html
Create a style.css file. The file name must be style and its extension .css
Create a script.js file. The file name must be style and its extension .js
Once you create these files, paste the given codes into the specified files. If you don’t want to do these then scroll down and download the source code by clicking download button.
First, paste the following codes into your index.html file
- <!DOCTYPE html>
- <html lang="en">
- <head>
- <meta name="viewport" content="width=device-width, initial-scale=1.0">
- <title>Image Editor</title>
- <link rel="stylesheet" href="style.css">
- </head>
- <body>
- <div class="wrapper">
- <div class="editor">
- <div class="filter">
- <label for="blur">Blur</label>
- <input type="range" min="0" max="5" value="0" step="0.1" id="blur">
- </div>
- <div class="filter">
- <label for="contrast">Contrast</label>
- <input type="range" min="0" max="200" value="100" id="contrast">
- </div>
- <div class="filter">
- <label for="hue-rotate">Hue-Rotate</label>
- <input type="range" min="0" max="360" value="0" id="hue-rotate">
- </div>
- <div class="filter">
- <label for="sepia">Sepia</label>
- <input type="range" min="0" max="100" value="0" id="sepia">
- </div>
- <div class="filter">
- <label for="brightness">Brightness</label>
- <input type="range" min="0" max="200" value="100" id="brightness">
- </div>
- <button id="download-button">Download Image</button>
- </div>
- <div class="result">
- <figure class="image-container">
- <img id="chosen-image">
- </figure>
- <input type="file" id="upload-button" accept="image/*">
- <label for="upload-button">Choose An Image</label>
- </div>
-
-
- <div class="flip-buttons">
- <div class="flip-option">
- <input type="radio" name="flip" id="no-flip" checked>
- <label for="no-flip">No Flip</label>
- </div>
- <div class="flip-option">
- <input type="radio" name="flip" id="flip-x">
- <label for="flip-x">Flip Horizontal</label>
- </div>
- <div class="flip-option">
- <input type="radio" name="flip" id="flip-y">
- <label for="flip-y">Flip Vertical</label>
- </div>
- </div>
- </div>
- <!-- Script -->
- <script src="script.js"></script>
- </body>
- </html>
-
Now paste the following codes into your style.css file
- *{
- padding: 0;
- margin: 0;
- box-sizing: border-box;
- font-family: "Open Sans",sans-serif;
- }
- body{
- background-color: #1F9EEE;
- }
- .wrapper{
- width: 85vw;
- min-height: 50vmin;
- padding: 50px 30px;
- background-color: #ffffff;
- position: absolute;
- transform: translate(-50%,-50%);
- top: 50%;
- left: 50%;
- border-radius: 8px;
- box-shadow: 0 20px 35px rgba(0,0,0,0.15);
- display: grid;
- grid-template-columns: 5fr 7fr;
- }
- .editor{
- min-height: 35vmin;
- display: flex;
- flex-direction: column;
- justify-content: space-around;
- gap: 20px;
- }
- .editor label{
- font-size: 2.8vmin;
- color: #2a292a;
- font-weight: 400;
- }
- .editor input[type="range"]{
- display: block;
- width: 100%;
- position: relative;
- margin-top: 5px;
- }
- .flip-buttons{
- display: flex;
- flex-direction: column;
- margin-top: 10px;
- }
- .flip-buttons .flip-option{
- margin-top: 10px;
- }
- .result{
- position: relative;
- display: flex;
- flex-direction: column;
- justify-content: center;
- gap: 20px;
- }
- .result img{
- display: block;
- position: relative;
- max-width: calc(100% - 4vmin);
- max-height: 50vmin;
- margin: auto;
- }
- .image-container{
- display: none;
- }
- input[type="file"]{
- display: none;
- }
- .result label{
- display: block;
- position: relative;
- margin: 0 auto;
- width: 220px;
- background-color: #025bee;
- color: #ffffff;
- text-align: center;
- padding: 16px 0;
- border-radius: 5px;
- font-size: 2.8vmin;
- font-weight: 400;
- cursor: pointer;
- }
-
- .editor button {
- width: 100%;
- border: none;
- outline: none;
- color: #fff;
- cursor: pointer;
- font-size: 20px;
- padding: 16px 0;
- margin-top: 20px;
- border-radius: 5px;
- background: #785BF8;
- transition: background-color 0.3s ease;
- }
-
- .editor button:hover {
- background-color: #5c42cc;
- }
- @media screen and (max-width: 620px) {
- .wrapper{
- width: 95vw;
- grid-template-columns: 1fr;
- padding: 30px 20px;
- gap: 10px;
- }
- .editor{
- grid-row: 2;
- }
- .flip-buttons{
- flex-direction: row;
- justify-content: space-between;
- }
- .flip-buttons .flip-option{
- margin-top: 0;
- }
- }
Now paste the following codes into your script.js file
- let filterA = document.getElementById("blur");
- let filterB = document.getElementById("contrast");
- let filterC = document.getElementById("hue-rotate");
- let filterD = document.getElementById("sepia");
-
- let noFlipBtn = document.getElementById("no-flip");
- let flipXBtn = document.getElementById("flip-x");
- let flipYBtn = document.getElementById("flip-y");
-
- let uploadButton = document.getElementById("upload-button");
- let image = document.getElementById("chosen-image");
-
-
- function resetFilter(){
- filterA.value = "0";
- filterB.value = "100";
- filterC.value = "0";
- filterD.value = "0";
- noFlipBtn.checked = true;
- addFilter();
- flipImage();
- }
-
- uploadButton.onchange = () => {
- resetFilter();
- document.querySelector(".image-container").style.display = "block";
- let reader = new FileReader();
- reader.readAsDataURL(uploadButton.files[0]);
- reader.onload = () => {
- image.setAttribute("src", reader.result);
- }
- }
-
- let sliders = document.querySelectorAll(".filter input[type='range']");
- sliders.forEach( slider => {
- slider.addEventListener("input", addFilter);
- });
-
- function addFilter(){
- image.style.filter = `blur(${filterA.value}px) contrast(${filterB.value}%) hue-rotate(${filterC.value}deg) sepia(${filterD.value}%)`;
- }
-
- let radioBtns = document.querySelectorAll(".flip-option input[type='radio']");
- radioBtns.forEach( radioBtn => {
- radioBtn.addEventListener("click", flipImage);
- });
-
- function flipImage(){
- if(flipXBtn.checked){
- image.style.transform = "scaleX(-1)";
- }
- else if(flipYBtn.checked){
- image.style.transform = "scaleY(-1)";
- }
- else{
- image.style.transform = "scale(1,1)";
- }
- }
-
- const downloadButton = document.getElementById("download-button");
- downloadButton.addEventListener("click", () => {
- const chosenImage = document.getElementById("chosen-image");
- const downloadLink = document.createElement("a");
- downloadLink.href = chosenImage.src;
- downloadLink.download = "edited-image.png";
- document.body.appendChild(downloadLink);
- downloadLink.click();
- document.body.removeChild(downloadLink);
- });
If you face any difficulties while creating Image Editor or your code is not working as expected, you can download the source code files by clicking download button.
Related post
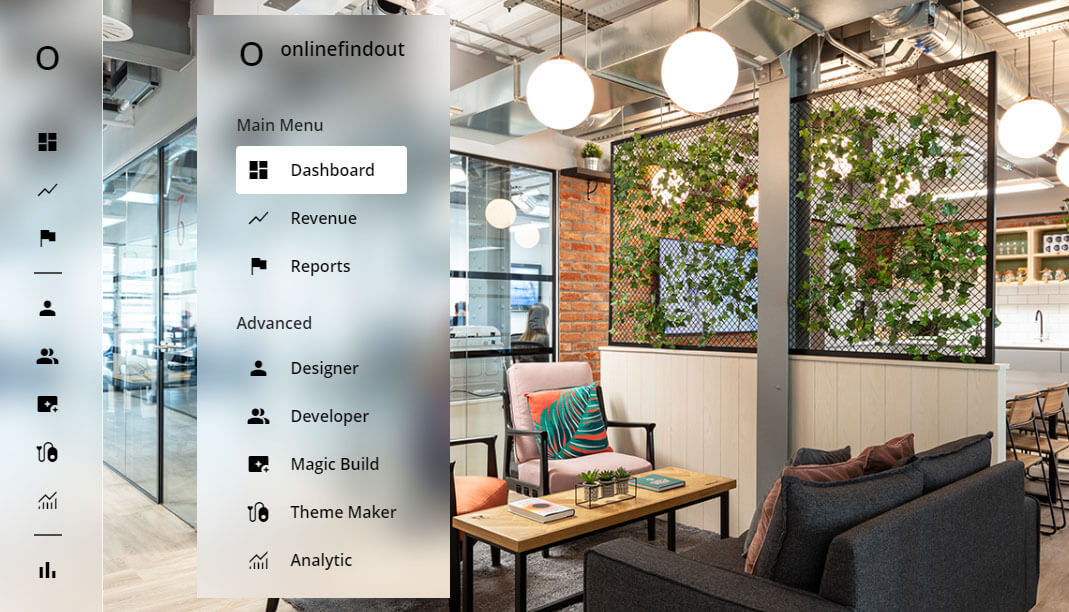 Create Glassmorphism Sidebar with HTML CSS
onlinefindout
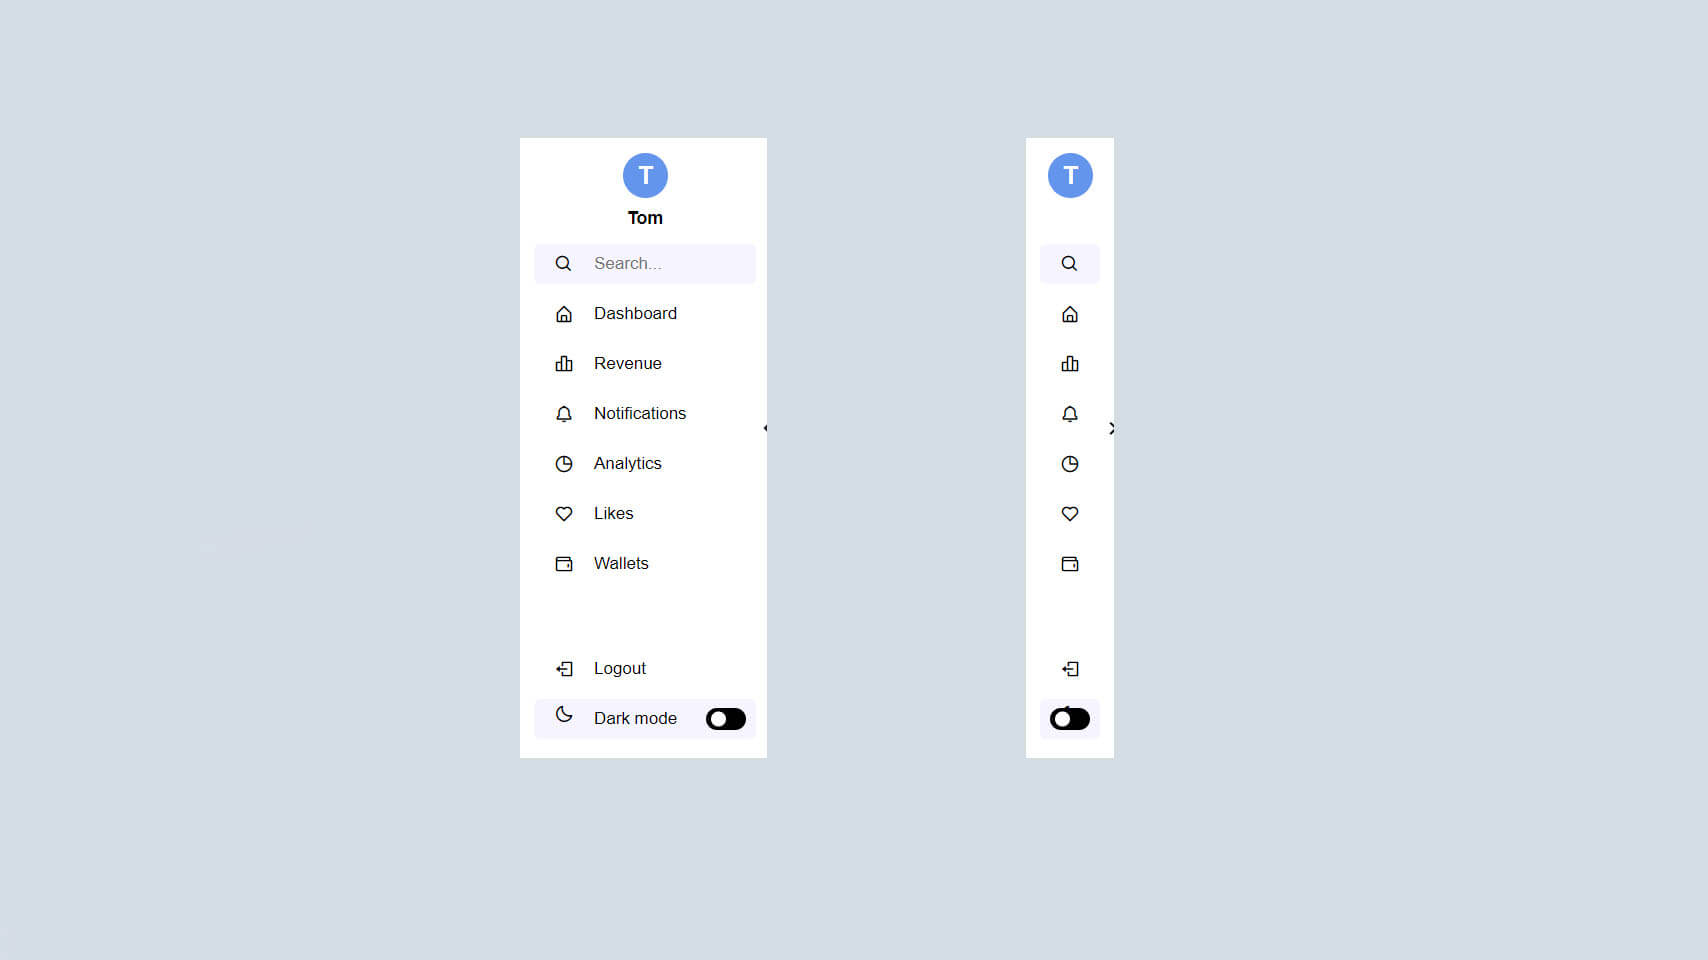 Sidebar Menu with HTML
CSS & JavaScript
Sidebar Menu with HTML
CSS & JavaScript
onlinefindout
 QR Code Scanner with HTML,CSS and JavaScript